How do you want to use FTP to upload files to your WordPress website? FTP or File Transfer Protocol is a fast and easy way to upload files from your computer to your website. In this article, I will describe you how to use FTP to upload files to WordPress.
What is FTP?
FTP is a short way for file transfer protocol. FTP allows you to transfer files from your computer to your website hosting server.
Why do you need FTP?
You need FTP to be able to manually upload files to WordPress, which will sometimes not work due to an error on your website.
Generally, you do not need FTP to upload files. You can easily upload images from the WordPress dashboard. You can also upload plugins and themes from WordPress.
However, sometimes you will need to manually upload a plugin or a theme file and fix the most common WordPress errors for WordPress troubleshooting purposes.
Use FTP to Upload WordPress Files
First of all, you will require downloading and installing the FTP client on your computer. FTP Client is an application that helps you connect to your website and transfer files using the FTP.
There are some of the most popular FTP clients that you can use:
- FileZilla
- WinSCP
- Cyberduck
You can also use another FTP client that you like. The basic concepts are the same of all software you use.
Connect FTP to WordPress site
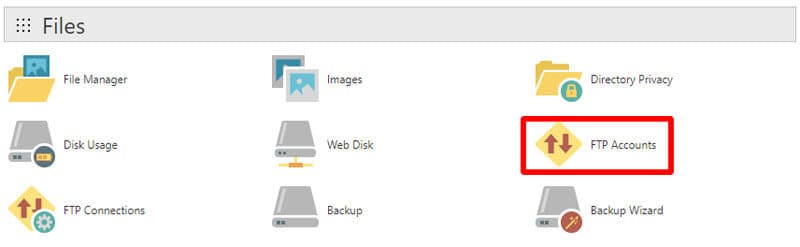
Need FTP login credentials to connect your website. When you sign up for your WordPress hosting account, your FTP login credentials are sent to you via email. You can also get your FTP account information in your hosting account.
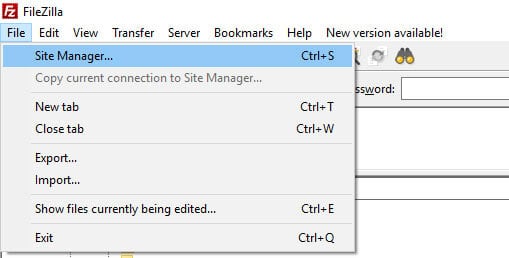
Once you get the login information, you need to open FileZilla and go to File » Site Manager.
A pop up window show where you can add your website information. Click on the ‘New Site’ button and give a suitable title.
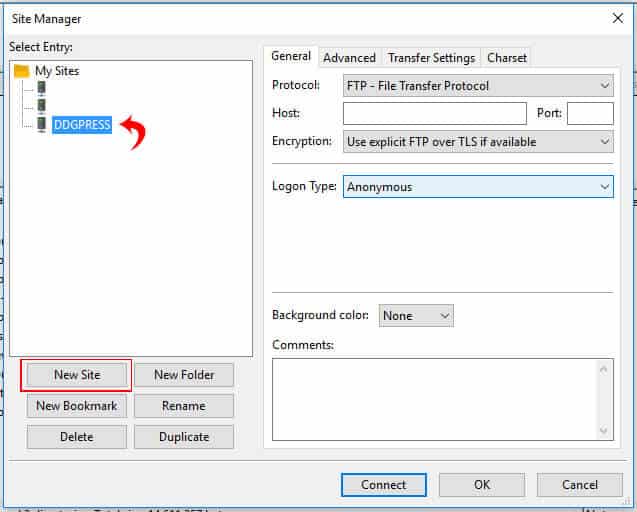
Next column, enter your host.
Note: In the protocol section, you can select SFTP option if your hosting provider supports it.
Under the logon type, select ‘Normal’ option and then enter your FTP username and password. Now you can click on the connect button which is situated on the bottom of the popup to continue.
When you first time connecting to your FTP account FileZilla may show you a certificate popup. Click the box next to ‘Always trust certificate for future sessions’ and then click on the OK button to continue.
Once it connected, you will see the list of files and folders on your website under the right side column. The right side column displays files and folders on your website and the left side section shows files on your computer.
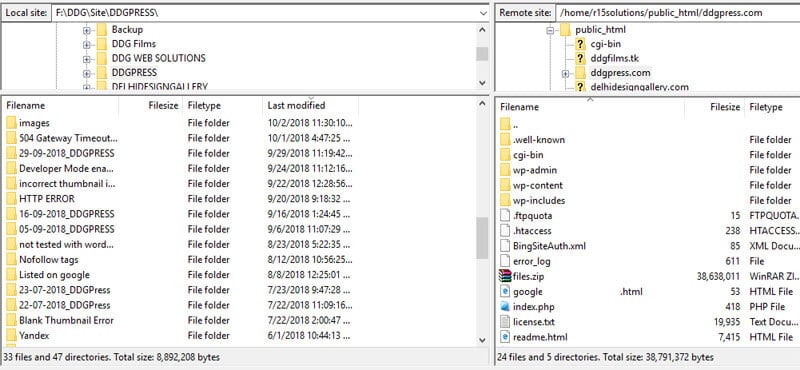
You can browse the files on your computer that you want to upload to your website. You need to right click the file and select upload from the menu.

FileZilla will transfer the file from your computer to your WordPress site.
However, WordPress needs some files and folders to work properly in specific locations. This means that you cannot upload a file anywhere. You need to know that uploading files to your WordPress site.
For example, if you want to upload the plugin manually to your WordPress website. First of all, you will require downloading the plugin on your computer.
After that you will require to unzip the plugin file. Go to /wp-content/plugins/ folder in the right side column. Here you can upload the plugin folder from your computer to your website. Once you upload the plugin, to activate the plugin, you will need to go to the plugin page inside your WordPress Admin Area.
You can also back up all WordPress files by FTP. Just select all the files and folders and download them to your computer.
I hope this article helped you learn how to use FTP to upload files to WordPress. You can also see our step by step WordPress installation and WordPress Plugins installation guide.
2 thoughts on “How to use FTP to upload files to WordPress?”