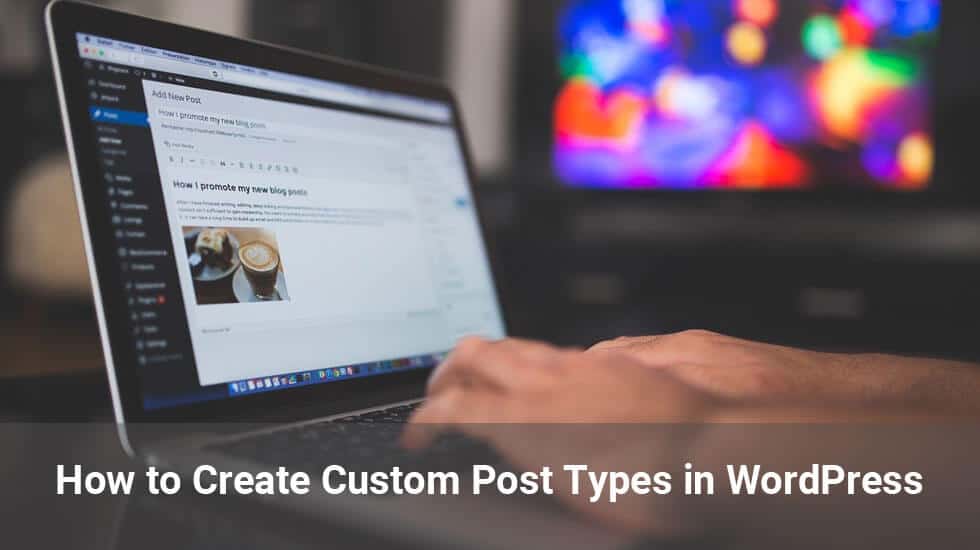
Do you need to discover ways to simply create custom post types in WordPress? Custom post types rework a WordPress website from a blogging platform into a strong Content Management System (CMS).
Basically, they assist you to transcend posts and pages by creating totally different content types on your website.
In this article, we’ll present methods to simply create custom post types in WordPress. We’ll train you two methods and you’ll select one that appears simple to you.
What is Custom Post Type in WordPress?
Custom post types are content types like posts and pages. Since WordPress advanced from an easy running a blog platform into a strong CMS, the term post caught it. However, a post type will be any form of content.
By default, WordPress comes with these post types:
- Post
- Page
- Attachment
- Revision
- Nav Menu
You can create your personal custom post types and name them no matter what you need.
For occasion, for those who run a film review website, you then would most likely need to create a film review post type. This post type can have totally different custom fields and even its personal custom category structure.
Some examples of post types are Portfolio, Testimonials, Products, Reviews, etc.
Many popular WordPress plugins already use custom post types to store knowledge in your WordPress website. The following are just a few prime plugins that use custom post types.
- WooCommerce– Adds a product custom post type to your WordPress website.
- WPForms– Creates a wpforms post type to store all of your forms
- MemberPress– Adds a memberpressproduct custom post type
When do I need a custom post type?
When we need a separate section from the blog then it is necessary to add custom post types. These are custom post types that we created to maintain these sections separate from our everyday blog articles. It helps us higher arrange our website content. Read our article on how to increase your blog traffic.
That being mentioned, let’s check out methods to simply create custom post types in WordPress on your personal use.
Method 1. Creating a Custom Post Type – The Easy and Simple Way
The best strategy to create a custom post type in WordPress is through the use of a plugin. This technique is really useful for learners as a result of it’s safe and super simple.
The very first thing you must do is install and activate the Custom Post Type UI plugin. Upon activation, the plugin will add a new menu item in your WordPress admin menu known as CPT UI.
Now go to visible on left panel CPT UI » Add New to create a new custom post type.
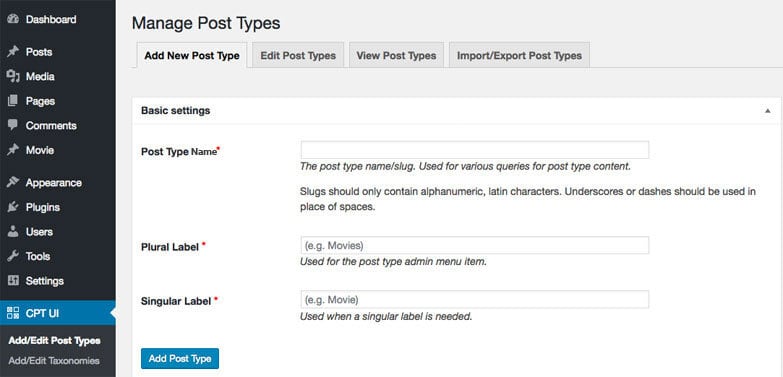
First, you must provide a slug to your custom post type. This slug will likely be used within the URL and in WordPress queries, so it may possibly only contain letters and numbers.
Below that, you must provide the plural and singular names to your custom post type.
Next, you’ll be able to optionally click on on the hyperlink that says ‘Populate additional labels based on chosen labels’. Doing so will fill in the remainder of the label fields down below.
Scroll down to the ‘Additional Labels’ part and from here you’ll be able to provide a description to your post type and change labels.
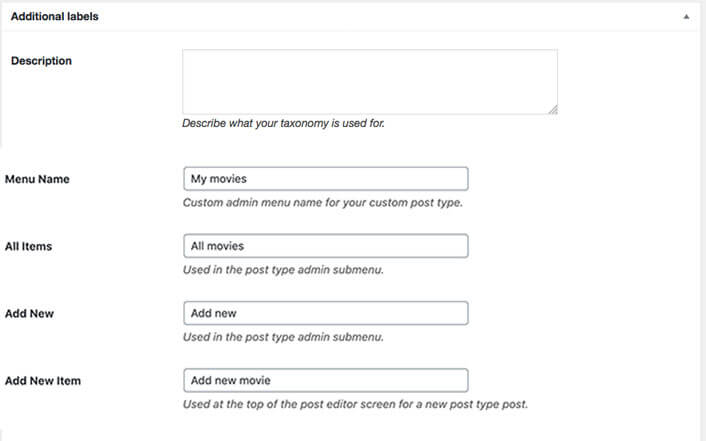
Labels will likely be used throughout the WordPress user interface when you are managing content material in that particular post type.
Next, comes the post type settings option. From right here you’ll be able to set up completely different attributes to your post type. Each option comes with a quick description explaining what it does.
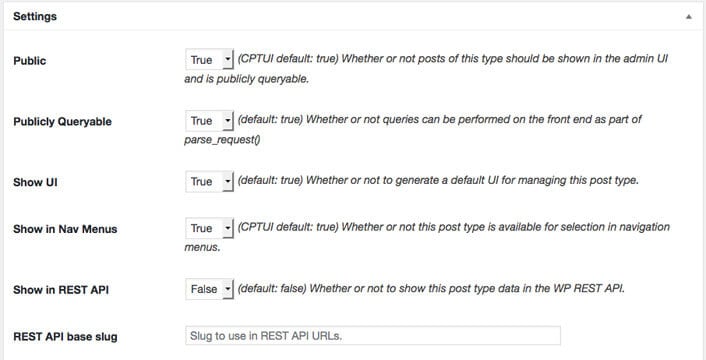
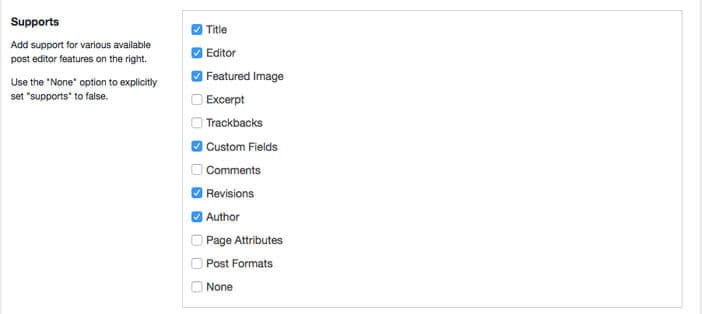
Below the overall settings, you will notice the choice to pick which modifying features this post type would help. Simply verify the choices that you just need to be included.
Finally, click on on the ‘Add Post Type’ button to save and create your custom post type.
That’s all, you have got successfully created your custom post type. You can go forward and begin including content material.
We will present to you the right way to show your custom post type on your website later on in this article.
Method 2. Creating a Custom Post Type Manually
The downside with utilizing a plugin is that your custom post types will disappear when the plugin is deactivated. Any information you will have in these custom post types will still be there, however, your custom post type will probably be unregistered and won’t be accessible from the admin area.
If you might be engaged on a shopper website and don’t need to set up one other plugin, then you may manually create your custom post type by including the required code in your theme’s functions.php file.
First, we’ll present you with a quick and totally working example so that you just understand how it works. To create a custom post type for any specific theme on WordPress, navigate to functions.php file from your WordPress theme listing then add the below code to it.
/* Custom Post Type Start */
function create_posttype() {
register_post_type( 'news',
// CPT Options
array(
  'labels' => array(
   'name' => __( 'news' ),
   'singular_name' => __( 'News' )
  ),
  'public' => true,
  'has_archive' => false,
  'rewrite' => array('slug' => 'news'),
 )
);
}
// Hooking up our function to theme setup
add_action( 'init', 'create_posttype' );
/* Custom Post Type End */
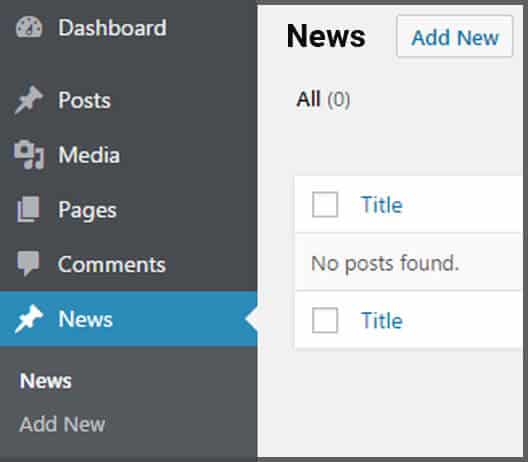
After including this code, the News post-type will automatically seem within the Dashboard of your WordPress. To see how it will seem on the front-end of your WordPress dashboard, check with the picture below.
When you write custom post types, it needs to use init for the hook in add_action(). The register_post_type() function takes the arguments.
/*Custom Post type start*/
function cw_post_type_news() {
$supports = array(
'title', // post title
'editor', // post content
'author', // post author
'thumbnail', // featured images
'excerpt', // post excerpt
'custom-fields', // custom fields
'comments', // post comments
'revisions', // post revisions
'post-formats', // post formats
);
$labels = array(
'name' => _x('news', 'plural'),
'singular_name' => _x('news', 'singular'),
'menu_name' => _x('news', 'admin menu'),
'name_admin_bar' => _x('news', 'admin bar'),
'add_new' => _x('Add New', 'add new'),
'add_new_item' => __('Add New news'),
'new_item' => __('New news'),
'edit_item' => __('Edit news'),
'view_item' => __('View news'),
'all_items' => __('All news'),
'search_items' => __('Search news'),
'not_found' => __('No news found.'),
);
$args = array(
'supports' => $supports,
'labels' => $labels,
'public' => true,
'query_var' => true,
'rewrite' => array('slug' => 'news'),
'has_archive' => true,
'hierarchical' => false,
);
register_post_type('news', $args);
}
add_action('init', 'cw_post_type_news');
/*Custom Post type end*/
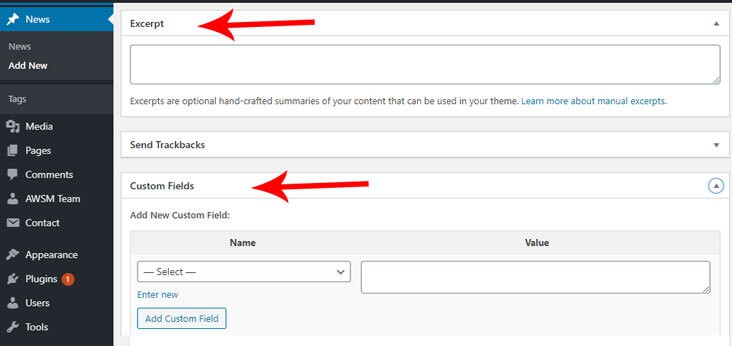
$supports: Specifies the post type is compatible and supports all necessary features.
$labels: Specifies that the post type is referred rightly to the admin area.
$args: Specifies a permalink slug of the news, and a menu place located just below the Posts menu.
Now let’s take a look before and after adding features to our WordPress website theme.

Advanced features
The above example shows how you can register WordPress Custom Post Types to the back-end for any WordPress theme. Now move to the next step. Creating posts as a custom post type.
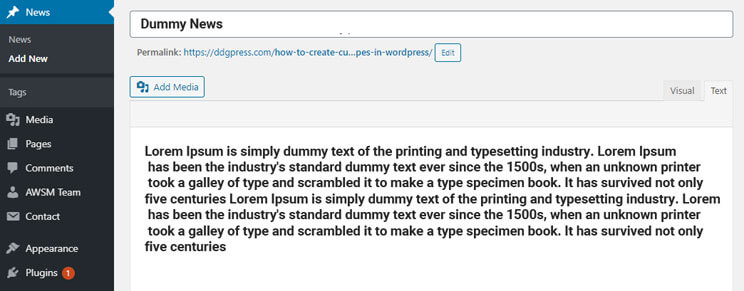
Create a New Post
You have successfully created a post for your WordPress website. Now you have added this post as a custom post type on your WordPress website. After that, add 2-3 dummy News posts to your site.
If you want for a no-code solution to customize your custom post type archive pages, then we suggest taking a look at a WordPress page builder plugin like Livecomposer or Divi as a result of they both can help you.
I hope this new article helped you learn how to create custom post types in WordPress. You might also wish to see our guide on easy methods to increase your website traffic with sensible tips.
If you liked our articles, please subscribe to our YouTube Channel for WordPress Video Tutorials. You can also find us on social media platform like Twitter and Facebook.